Welcome to the North Shore Tying Company, If you are interested in having flies tied please visit the "Flies" pages on the right side of the screen. Due to the massive amounts of fly patterns available today there is a chance that the flies you need may not be listed, if so please contact me and I will do my best to meet your request.

Tuesday, 5 February 2013

Laker Leech

I was approached a while back about creating a fly for trophy Lake Trout and Pike for a guide with Lakers Unlimited

The idea was to create a fly that was big and easy to cast, originally we had decided on the "Moal Leech". The Moal Leech is a large fly that consists of a rabbit strip super glued around a dacron braid trailing loop tied on a cut off salmon hook. The advantage of wrapping the rabbit around the dacron is that it gives the fly a lot of movement, where as if it were wrapped around a long hook shank, the fly would be fairly stiff.

I have never really been a fan of the Moal Leech, the reasons being :

  • Pain in the but to tie.
  • The trailer hook cannot be swapped out once dull.
  • If a toothy fish cuts the rabbit strip the fly will fall apart relatively fast.
  • Size and Colour cannot be changed
So to fix the issues I was having with the original Moal Leech I designed the "Laker Leech"

The Laker Leech is more a less a "Leech Kit" where you build your own leech pattern depending on the size, colour and weight that you want. The leech is made up of several different one inch sections of tubes that you just slide onto your tippet material. 


The Pros: 
  • Easy to tie.
  • Trailer hook can be swapped out easily.
  • If a toothy fish cuts the rabbit strip, you only loose one small segment and not the whole fly.
  • Easily change colour, size and weight of the fly on the water.

So I will do a picture step by step to show you how I rig up this fly. 

  • Start with your tubes, here I have five, 1 inch segments and a 1 inch head segment with a cone on it for weight. You will also need your tippet material and a hook


  • Each tube has a defined front and back. the front has a visible section of thread.
  • The rear end of the tube is exposed simply by stroking the rabbit fur back.

  • Segments are approximately one inch in length. 

  • I use a single Gamakatsu hook because I really like the shape of it, but hook choice is completely up to you 

  • I am going to start rigging this tube up by sliding on an olive colour tube onto the tippet.

  • Slide on as many tubes as you like ( just make sure you can cast it haha )

  • I like to add colour segments to give the fly more of a pattern, this fly will be olive and red.

  • The head of this fly is another section of tube with rabbit fur tied on, I have also tied in a collar of marabou to give the fly more colour and finished it off by adding a weighted turbo cone.


  •  The head tube slides on just like the other segments.


  • The completed fly, all that is needed is to tie the tippet onto your leader and your good to start fishing.

  • The tubes still allow the fly to move and bend, which was extremely important in the design of this fly. 


Thanks, Hope you enjoyed the post.


Chris


Sunday, 3 February 2013

Simple and Elagant

There is something to be said about small, simple flies. Often, especially with Atlantics, they will out produce any other type of fly.

Tied these up last night while showing a friend how to "set" these wings, it was definitely a learning process for both him and I.

As Albert Einstein said " If you can't explain it simply, you don't understand it well enough"

Well sorry Brett, my explanation wasn't simple at all haha.

Its good to challenge yourself when it comes to tying flies, otherwise how can you progress and learn? I remember when I started tying flies I was instantly drawn to classic salmon flies, I knew those were the flies I wanted to be able to tie. I went through alot, and I mean alot of material practising and learning how to tie those flies and slowly but surely I have been making progress, I kept my very first married wind salmon fly ( a Jock Scott, with a bunch of subs) and I use it as a reminder to mark progress.


Hope you enjoyed the post
and try to tie something you never have never tied before, you will inevitably learn something


Thanks
Chris

Thursday, 31 January 2013

Gators on my mind

Hey everyone

I've been busy tying lately and haven't been able to write much. I have managed to find some time during my morning coffee to let you know what I have been up to lately.

As the winter temps continue to drop, I have been thinking of warmer weather. I have been experimenting with some patterns for Pike. Its not often that I wonder from my passion of Salmon and Steelhead flies, but it is a good thing to branch out and broaden your skills.

I will admit that deer hair is by far my least favourite material to work with, I like feathers more haha. 

Here is the fly I tied last night, pretty simple pattern, Rabbit Zonker strip, Bucktail, and Deer hair for the head.


I like to take a permanent marker to the under side of the rabbit hide and give it a barred look.


Over all I like it, I still need to glue eyes on it, hopefully my nest one will go a little smother, and soon I will be tying these with different colour hair.


Thanks
Chris


Sunday, 20 January 2013

Addicted to Married Wings


Lately I find my self tying up more married wings than any other fly, not sure why, they take way longer and are way harder to tie. But they sure are pretty and fun to fish....

This fly was a big step for me, I have always had issues with marrying turkey to goose for some reason. I was amazed that after I set the wing the barbs were all still married together. There are still some kinks that need to be worked out in this fly ( floss, herl and the topping) but I have gotten the hardest part down.

I am now in need of some higher quality Jungle Cock and some nice swan to continue with this style of fly


I thought you may like to see what a set of wings looks like before they are tied in. This wing is mad up of Lady Amherst Tail and Turkey Tail.


Success! This wing went on perfectly without splitting the wing. All that is left is the Jungle Cock eyes and then trimming the waste material at the head. (I use a razor blade to trim the head because its easier and cleaner.)


Thanks for reading


Chris

Tuesday, 15 January 2013

Steaming Feathers - Save Money, Tie Better

If your like me then you really hate opening a package of material and seeing that all your feathers are folded and kinked....... garbage right?.... not

This is a great post to help you save some of those garbage feathers and some money.

I am using bronze mallard in this demonstration because it tends to have this problem a lot  and if you have tried tying in mallard before you know that it can be one of the most frustrating materials to work with. To generate steam I use a simple tea kettle, it works perfect for this job. 


Here is what the feathers look like right out of the package, you can see that there are lots of folds and splits in the feathers.


Nasty fold, most people would view this as a garbage feather.


Nasty split, again another type of feather typically thrown out.


Prep - I start by stripping off all of the fluffy fibres, this leaves only the usable part of the feather left. 


Material that was stripped off the feathers.


Before steam treatment.


Close up of a split feather right before it hits the steam.


Same feather after some steam... magic. this feather has now been saved from the garbage and it has now been returned to its natural shape.

This will work with most feathers, and will make tying flies much more enjoyable.


Hope you enjoyed this tip


Thanks
Chris


Thursday, 10 January 2013

M & M's - Married and Mixed Wings


Thought I would do a post on some classic style salmon flies I have been tying. Most of them are just freestyles that I have come up with,


I will be taking these flies for a swim this weekend. Hopefully i will be able to find some nice hungry Steel with these!


Above is a mixed wing that I tied up tonight, wing is made up of Amherst, Goose, and Turkey.


Above are two flies that I tied trying to learn how to deal with Amherst Tail, its a very tricky material to marry, it often likes to split once mounted. 


Here are a couple pictures of my fly box for the week end, lots of classic style flies, hopefully they will get bitten. 


The above two flies were inspired by the classic "Floodtide", i really like the use of marabou for a body hackle, I am really looking forward to seeing these things swim.


Hope you enjoyed the post.


Chris


Monday, 7 January 2013

Lynn Valley River

Lynn Valley River - Brown Trout Haven

There is nothing quite like returning to the waters where you learned to fish. These past holidays my wife and I spent a week in southern Ontario visiting with family. 

We decided to go for a hike along the river in the back yard, where I learned to cast my first rod and release my first fish. 

This river is jam packed with lots of hungry and aggressive browns, its not uncommon to catch 15-25 browns in a couple hours. 

This post is going to be very picture heavy ha..... loving this new camera


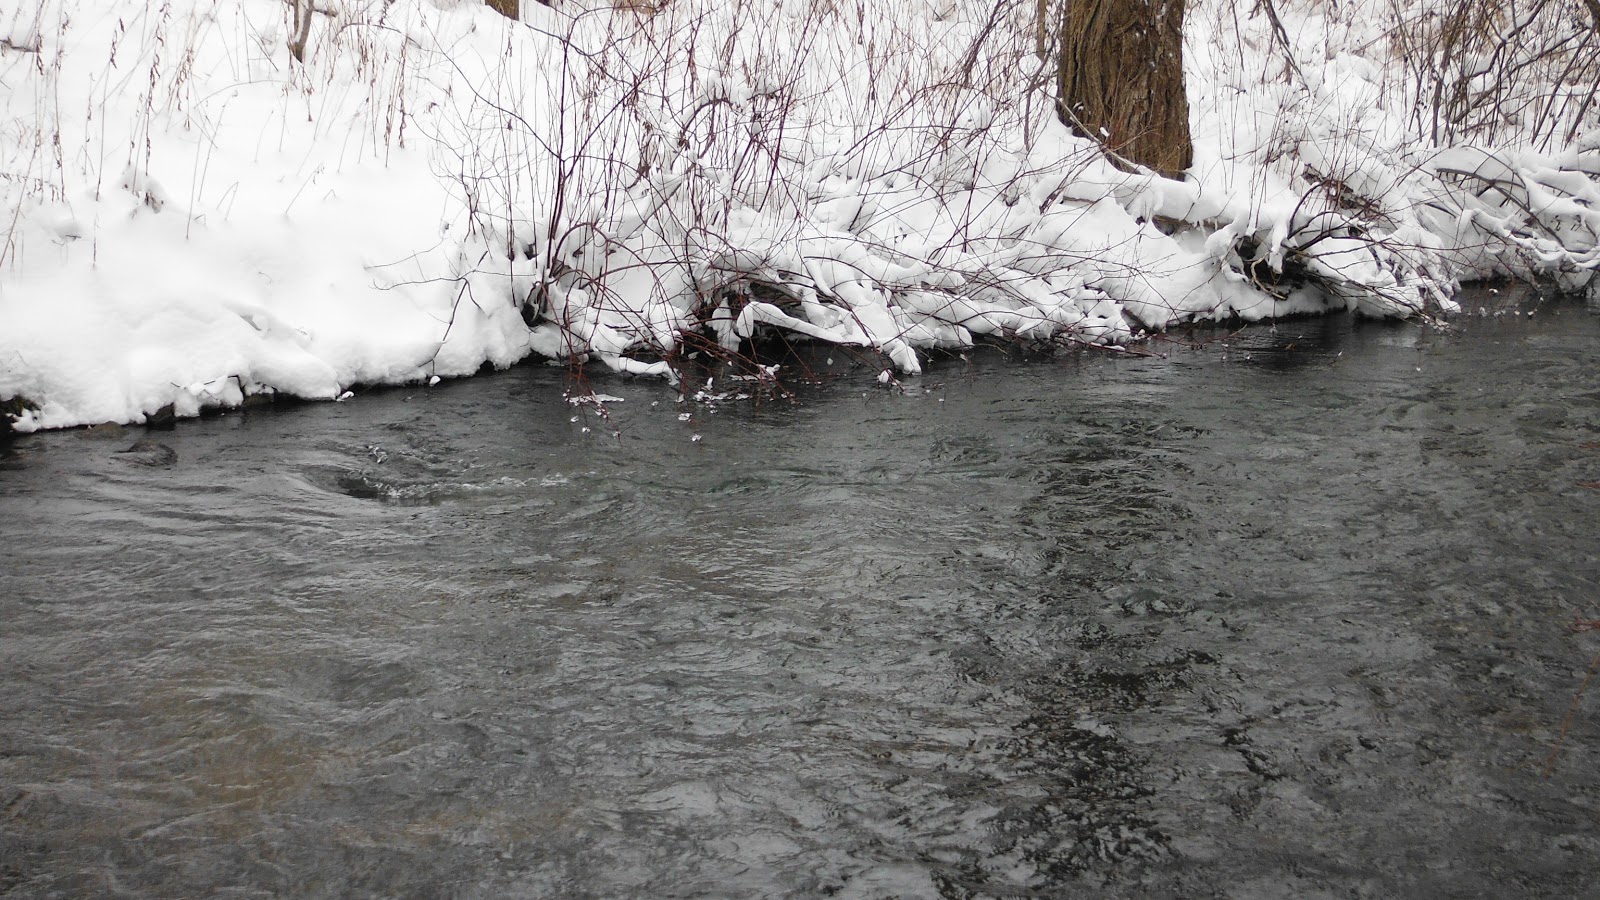
Nice deep pool, directly behind my parents house.

Lots of fishy water, with lots of tree cover, I try to forget how many flies and lures I have lost to those wooden thieves.

These browns love to hide in the smallest of eddies.

They are also fond of undercut banks.

Nice little run to swing some streamers through.


Pretty little tail out that always seems to hold fish.

Nice steady run, often over looked because there is not much "visible" structure. its good to fish these low traffic areas.

Nice panoramic shot

This is obvious holding water, never walk past spots like this with out throwing a cast through

Another nice little pool, there is a sunken log which created a very nice sized eddie.

Browns seem to love logs.

Another nice panoramic.

Another gorgeous tail out.

Extremely fishy looking water.

Knock, Knock, anyone home?


Hope you enjoyed this post, not fly tying related, but still keeping it fishy.


Chris